A complete walkthrough of running payroll in Pandahrms — from the pre-payroll checklist through importing attendance data, creating the payroll cycle, calculating, and finalising.
Before you start
- Complete the 6-item pre-payroll checklist below before payroll day — ideally spread across the month, not all at once.
- Once Import From Module is run, the timesheet locks and can no longer be edited.
- Have admin access to HR, Attendance, and Payroll menus.
Before Performing Payroll
1 Check Staff Timesheet
Go to Attendance → Timesheet.
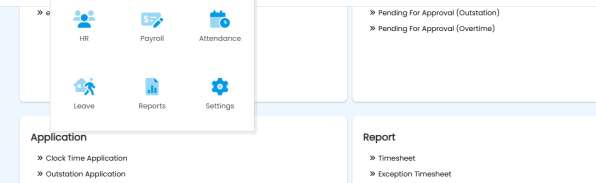
Timesheet review ensures the data (late in, overtime, overbreak, schedule allowance, absent, UPL) is correct and ready for import — when Import From Module runs, it imports based on this Attendance report, and the system automatically calculates payroll from whatever the timesheet shows. So if the timesheet shows 40 hours of OT1.5, payroll will calculate based on those 40 hours — make sure the data is accurate before importing.
Videos: How to check the timesheet · How to amend the timesheet
2Confirm Employee Statutory Details
The system follows the settings entered via the migration template plus default labour-law settings. Manual adjustment is only needed for special cases: (i) staff with special EPF contribution rates, (ii) staff turning 60 in a specific month, (iii) staff not entitled to certain statutory contributions (tax eligibility is determined automatically).
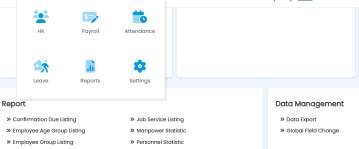
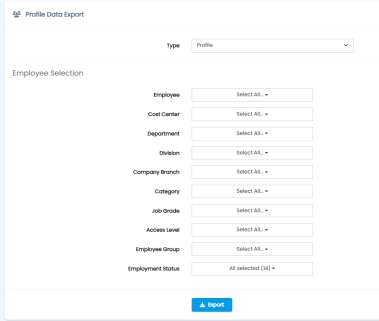
To check all staff at once: Go to HR → Data Export, select Type: Profile, then Export.
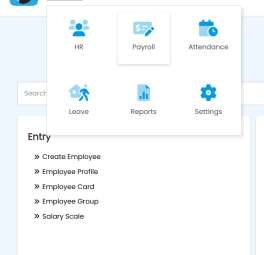
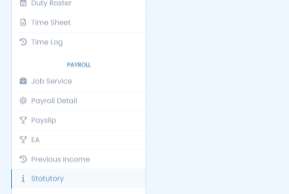
To check and edit an individual: Go to HR → Employee Profile, search and select the staff (click the pencil icon), scroll down, and select Statutory.
3Basic Salary Adjustment for This Month
If a staff member’s basic salary is adjusted this particular month, update it under HR → Salary Adjustment.
Video: How to perform Salary Adjustment
4Staff Who Resigned This Month
For staff leaving this month whose last payroll will be run in the system, create their cessation under HR → Cessation. The system automatically calculates based on their last working day and the payroll cut-off date.
Once payroll is completed and closed, the cessation status auto-updates to Completed and the staff is removed from headcount — their profile information stays retained in the system.
Video: How to perform Cessation
5Enter Other Allowances or Transactions
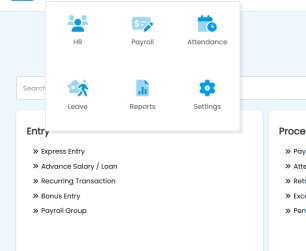
Recurring Transaction — for a fixed amount the staff receives every month. Create it once under Payroll → Recurring Transaction; it then appears automatically every month until the staff resigns or the company modifies/stops it. Video: How to create Recurring Transaction
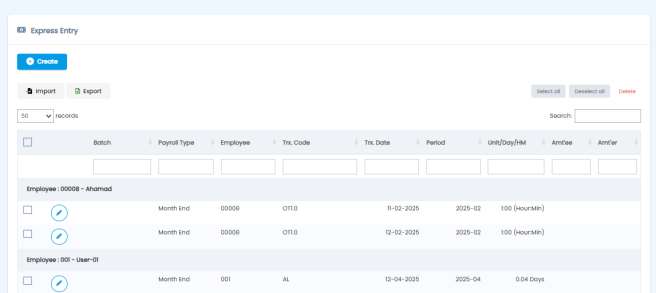
Express Entry — for a one-off amount (commission, a particular deduction/allowance) that should only appear for one month. Enter it under Payroll → Express Entry. Video: How to create Express Entry
6Creating a New Transaction Code
To create a new transaction name (transaction code): How to create a transaction code · How to edit a transaction code
Payroll Process
A) Import From Module
1Navigate to the page
Go to Payroll → Data Management → Import from Module.
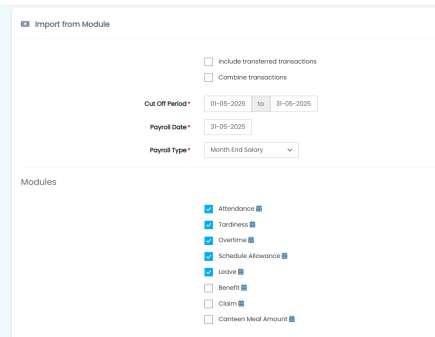
2Select the date and type of payroll
Select the Cut Off Period, Payroll Date, and Payroll Type.
- Include transferred transactions — include transactions that have already been transferred once.
- Combine transactions — e.g. if an employee is absent for 3 days, shows the total of 3 days rather than each day individually.
3Select the modules
Select the modules to import. If a module’s cutoff date differs from the one above, use the calendar button for a custom date range.
- Attendance — absences for monthly staff, and basic salary for daily/hourly staff.
- Tardiness — late-ins, overbreaks, early-outs recorded in the timesheet.
- Overtime — overtime hours captured in the timesheet.
- Schedule Allowance — ‘Pay Day’ entries set in the timesheet.
- Leave — Unpaid Leave (UPL) recorded in the timesheet.
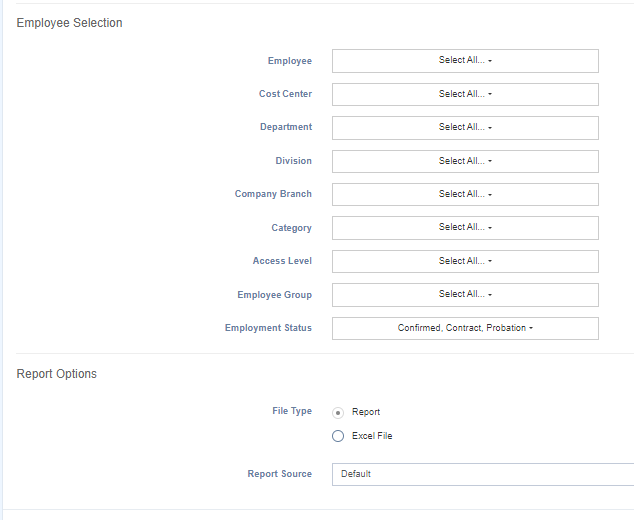
4Select employees and report options
Leave blank to select all employees.
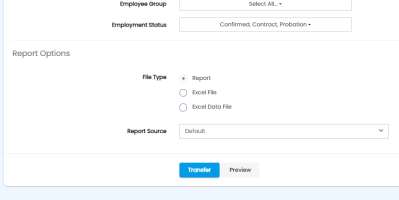
5Preview the Module Transfer Listing
Select Preview to review the listing — check it carefully before transferring. When confirmed, select Transfer to import.
B) Create Payroll Cycle
1Start the cycle
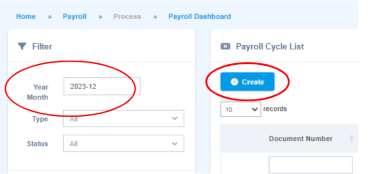
Go to Payroll → Process → Payroll Dashboard, select the year and month, and click Create.
2Configure the cycle
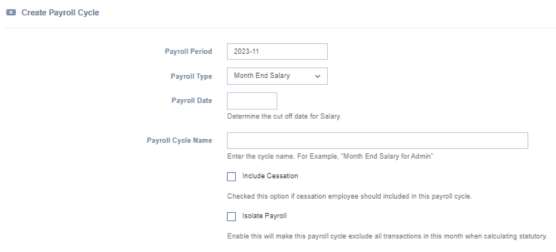
If any ‘Open/Lock’ payroll cycles still exist, close them first before creating a new one.

Select the Payroll Period, Type, and Date, and name the cycle in Payroll Cycle Name. Tick Exclude Cessation and Isolate Payroll if you want to skip those. If a staff member resigned this month and should be included in this cycle, tick Include Cessation instead.
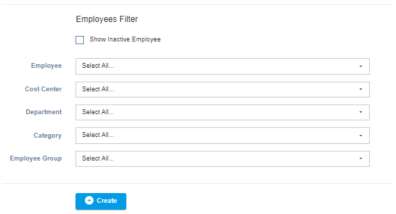
Tick Show Inactive Employee if needed for this cycle, or leave the employee filters blank to select everyone. Click Create.
C) Calculate in Payroll Dashboard
1Calculate
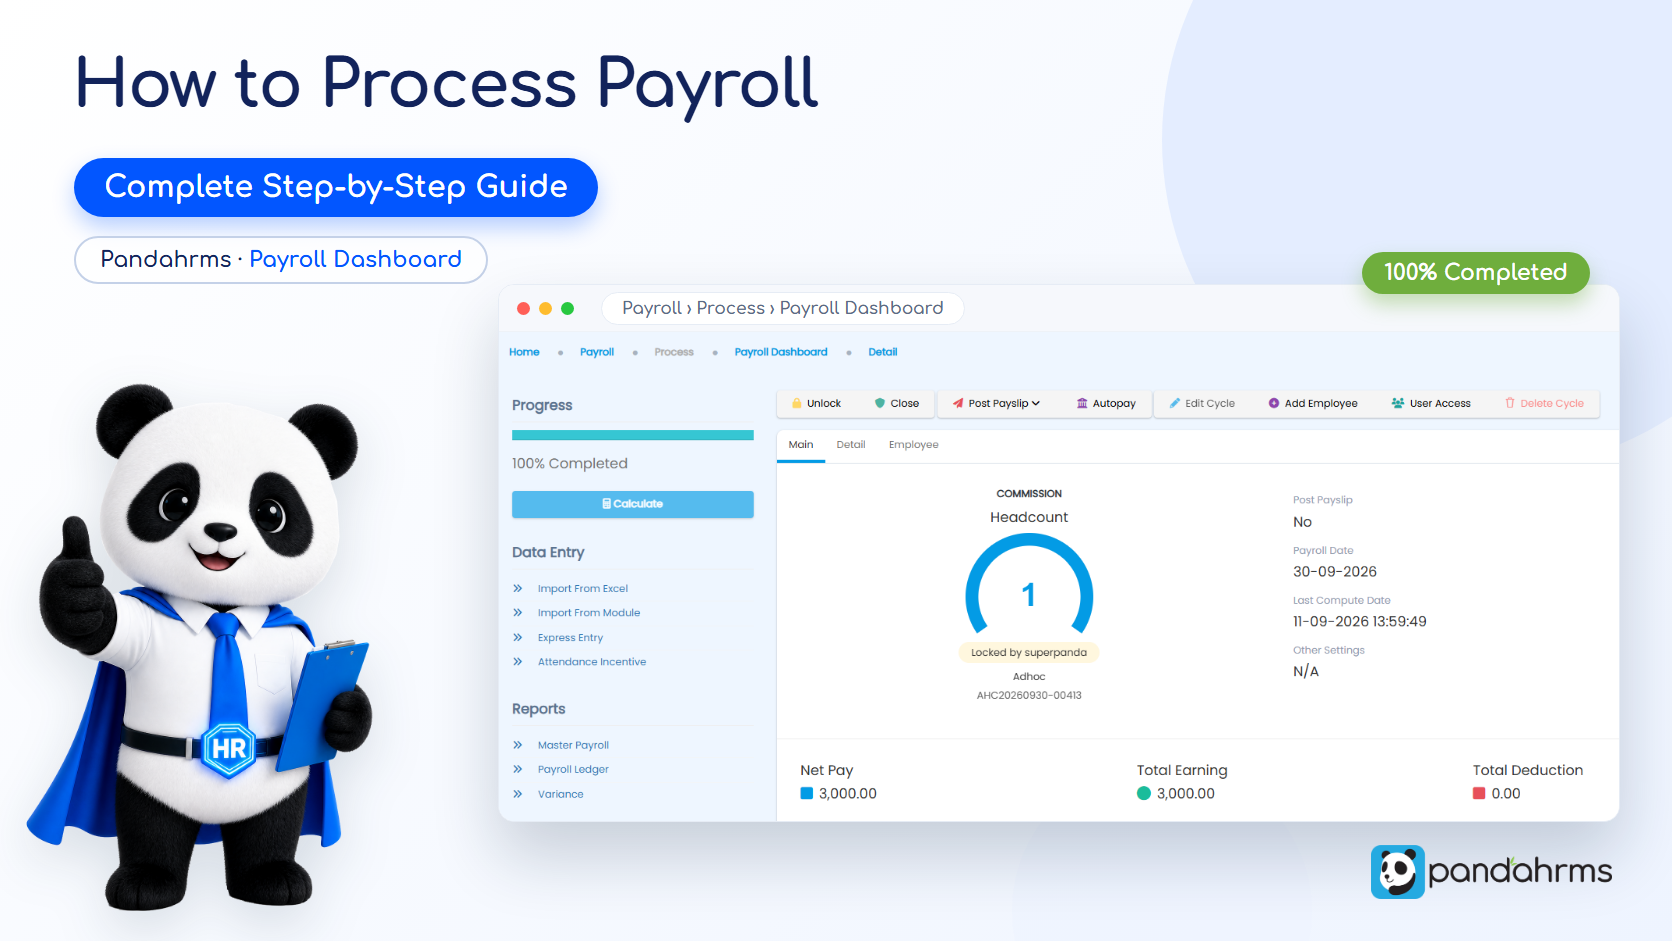
Click Calculate to compute the payroll. Once it reaches 100%, view the reports to verify.
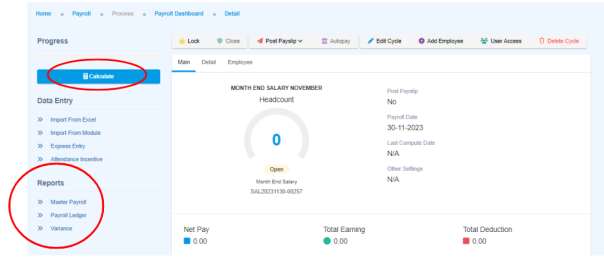
Make sure progress reaches 100% to avoid errors. If it appears stuck, reload the page to confirm it fully completed.
Payroll Dashboard Features
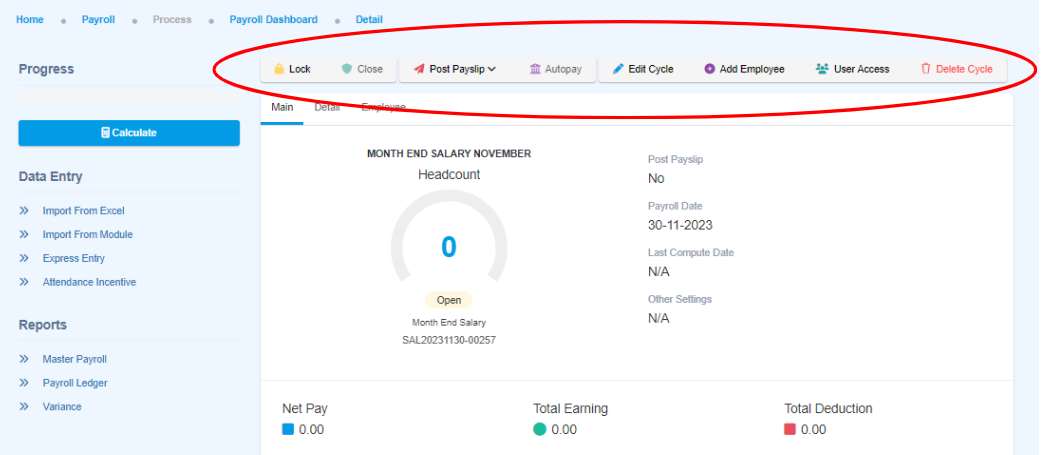
- Lock — after confirming the payroll amount, lock it so later changes don’t affect it. Unlock by selecting the button again.
- Close — closes the current cycle so a new one can start without affecting this one’s amounts. The cycle must be locked first, and once closed it cannot be reopened.
- Post Payslip — posts payslips for employees to view in their app / ESS. Choose Post Now or Post Later (with a date). The cycle must be locked to post.
- Autopay — download the bank file after verifying payroll accuracy. Requires the cycle to be locked or closed.
- Edit Cycle — edit this cycle’s settings; recalculate (“Calculate”) afterwards if changes were made.
- Add Employee — include an employee not already part of this cycle (check their joining/job service date if they can’t be found); recalculate afterwards.
- User Access — add or remove a user’s access to this payroll cycle.
- Delete Cycle — remove this cycle if no longer needed (not possible once locked or closed).
Main, Detail & Employee Tabs
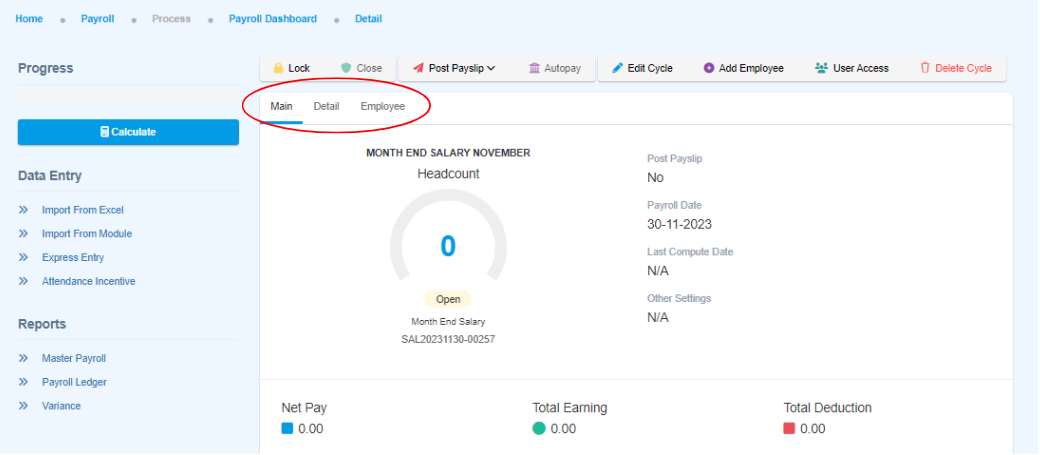
- Main — the comprehensive payroll summary.
- Detail — the specifics of total earnings and deductions.
- Employee — the list of employees added to this payroll dashboard; undesired employees can be removed here.
See also: Basic Salary, Public Holiday, Rest Day & Overtime Pay in Malaysia · 45-Hour Workweek: Sections 60A & 60C